How do I integrate Confido Legal with Calendly?
This article outlines how to use Confido Legal to accept payment for appointments scheduled in Calendly.
Prerequisites
- Ensure any resulting appointments associated with your event type is eligible for payment.
- Log in to Confido Legal and create a Standing Link.
- Copy the URL for the Standing Link.
Connecting Confido Legal with Calendly
- Log in to Calendly.
- Create a One-on-One New Event Type.
- Enter the Event name. In our example, we'll use Initial Consult as our new event.
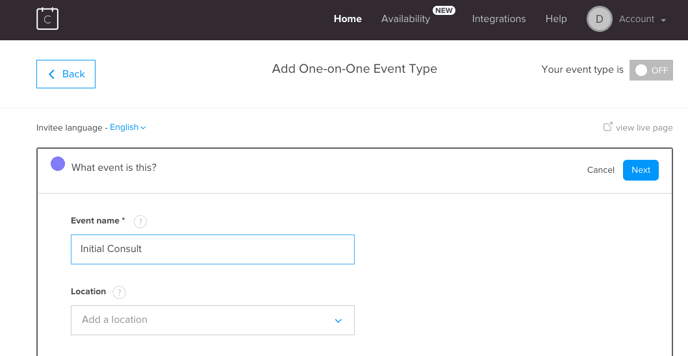
- Enter a message in the Description/Instructions field.
- Highlight the phrase you would like to hyperlink (e.g., "please click here"), then click the link icon.
- In the Edit Link box, paste the URL for the Confido Legal Standing Link you wish to use.
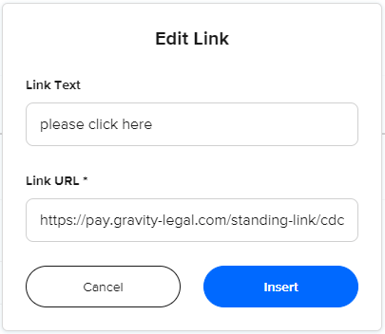
- Click Insert.
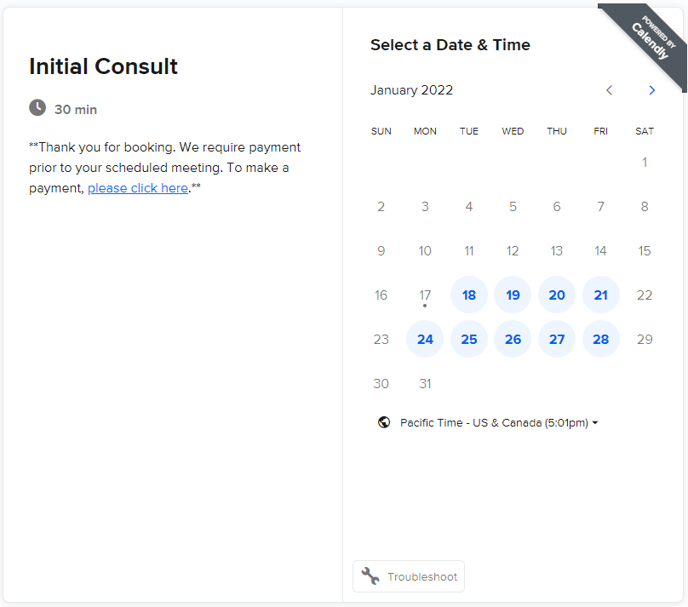
- Click Next and complete the steps to create the Event Type.
- When finished, your booking page may look something like this:
Add a Custom Link on the Calendly Confirmation Page
- Edit the event type.
- In Additional Options, click Confirmation Page.
- Click Add Custom Link.
- Enter Pay Now and paste the URL for the Confido Legal Standing Link.
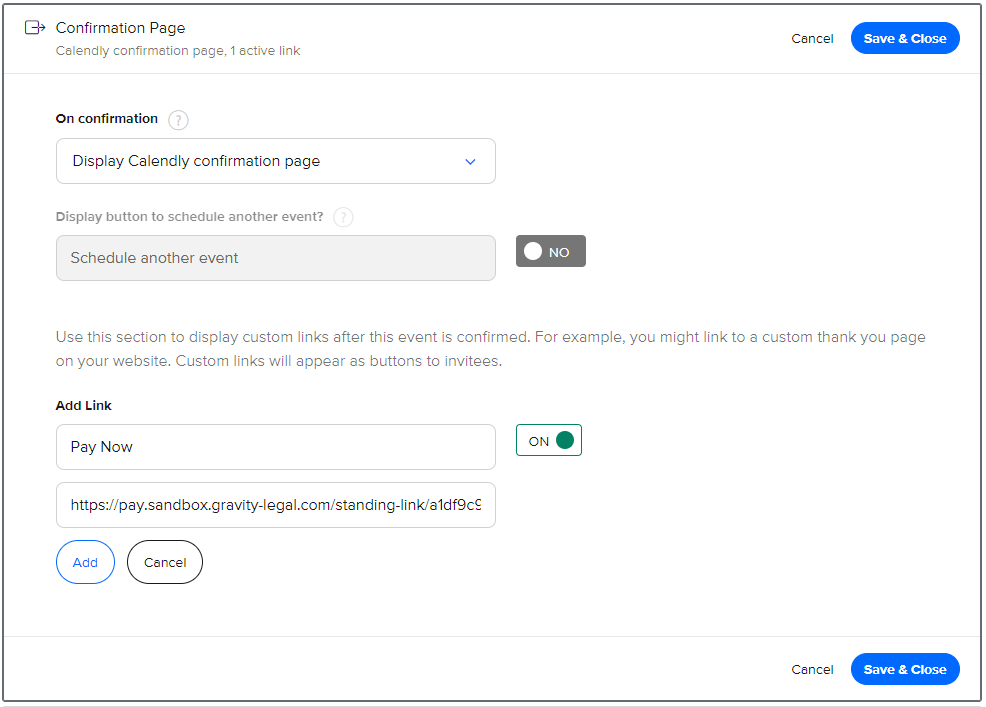
- Click Add.
- Click Save & Close.
- When clients go to the confirmation page after booking, it may look something like this:
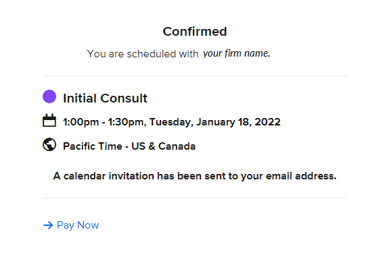
- The clients can then click Pay Now and complete their payment.
-1.png?height=120&name=Confido%20-%20Trademark%20-%20Dark%20(2)-1.png)