Clients will interact with your payment pages, so we understand you may want them to look and feel like your own. This article outlines how to customize the branding for your payment pages.
Adding a Logo
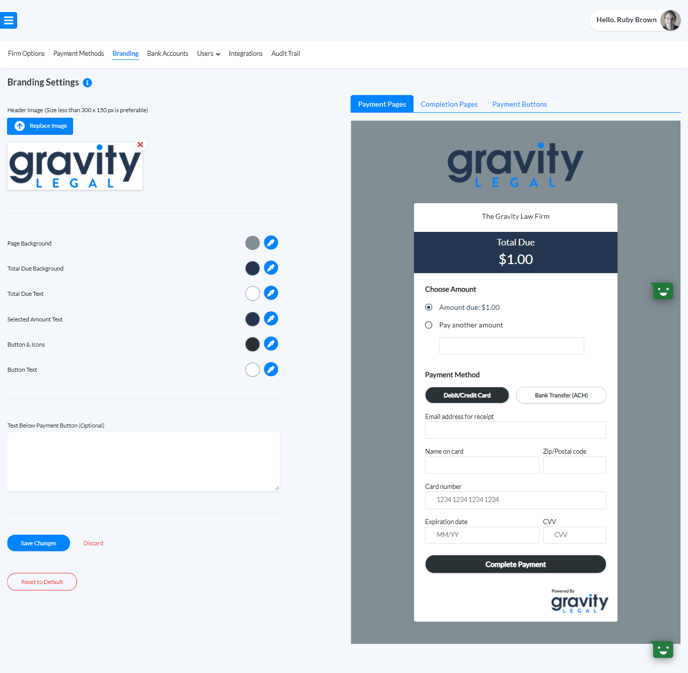
Navigate to Settings > Branding.
Click Add Image. This adds the logo to the top of all your payment pages. For best results, the image size should be a maximum of 300 x 150 px.
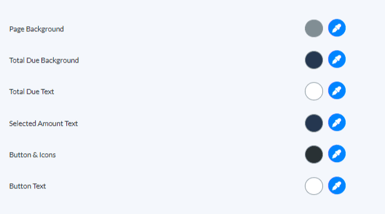
Use the Edit icon to select colors that match your firm's brand or website color scheme.
After you select your preferred colors, you will see a preview of your Payment Pages, Completion Pages, and Payment Buttons on the right.
Type a message in the box labeled Text Below Payment Button to display a note to your clients. You may want to include a thank you message or information on how to contact your firm.
If you have added a message here, it will be displayed on the preview screen to the right.
-1.png?height=120&name=Confido%20-%20Trademark%20-%20Dark%20(2)-1.png)